CNC Machining | Pre-Spin Machining
Computer numerical control (CNC) machining is a subtractive manufacturing method that uses computer software to automate and control the movement of cutting tools. Since tool movements are dictated by pre-programmed instructions, the results are extremely precise and easily scalable.
While many industries rely on CNC machining, the aerospace industry is one of the most demanding, requiring highly accurate parts to be manufactured from difficult material with zero margin for error. At Test Devices by SCHENCK, we offer CNC machining services tailored to the unique needs of the aerospace industry. When combined with our spin testing services, the result is expertly crafted and reliably tested components that meet our customer’s specific project needs.
How CNC Machining Fits into the Testing Process
Manufacturing aerospace components is a complex process. In addition to crafting each part with extreme accuracy and precision, high-speed spin testing is also required to ensure the finished product will perform safely. At Test Devices by SCHENCK, we combine CNC machining and spin testing capabilities under one roof, reducing the number of vendors our customers must manage. With significant preexisting knowledge about the component’s geometry and materials, we can perform machining operations both before and after spin testing to ensure optimal results.
For example, one of the most common parts we handle is jet engine high-pressure turbine rotors. Our customers perform rough machining on their rotors, followed by an ultra-sonic inspection, and then have the parts delivered to Test Devices by SCHENCK. Our skilled team then performs pre-spin CNC machining operations, followed by pre-spin testing. Immediately after, we perform semi-finish machining (a more precise roughing operation) and ship the parts back to the client ready for the final machining operation and installation in the engines.
Machining Prior to Spin Testing
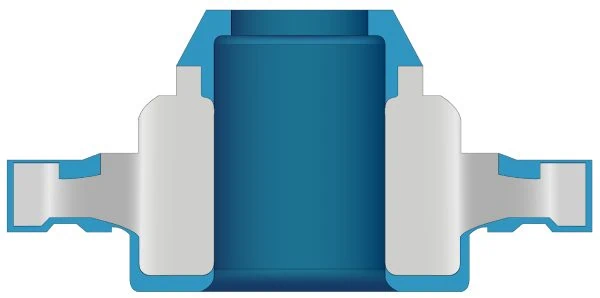
Before raw forgings are ready for spin testing, they need to undergo an initial round of “rough” machining. The main goal of this procedure is to remove any remaining excess material from the rough forged shape, and create the “spin shape” geometry. This is also when the features for attaching spin tooling to the component are created.
Spin Testing Turbine Forgings
During spin testing, component forgings are spun to a specific speed in order to yield the material. The outside rotor diameter actually increases due to the centrifugal load. This process offers numerous benefits, but it is primarily performed to relieve residual stress in the forging and minimize initial growth seen during the “green” run of the engine. The yielding of the material, and thus relief of residual stress, minimizes the distortion of the forging when undergoing subsequent machining operations, eliminating the “potato chip” phenomenon that can occur when machining parts with high residual stress. Forgings post-spin tests are much more stable and often allow for the elimination of multi-pass rough machining operations needed to manage forging distortion. Additionally, component forgings that have been spin-tested to yield allow a tighter gap to be realized between static and rotating components, resulting in improved engine efficiency.
Semi-Finish Machining
Following pre-spin testing, components are semi-finish machined to create the near-final shape. Semi-finish machining is a more precise version of rough machining with typical tolerances of +/- 0.005 in. (0.127 mm) and it leaves behind approximately 0.050 in. (1.27 mm) of material on all touched surfaces. The semi-finish machining process prepares the component for the final machining operation, allowing customers to focus on creating the precise final geometry without having to remove significant amounts of material.
Machining Capabilities
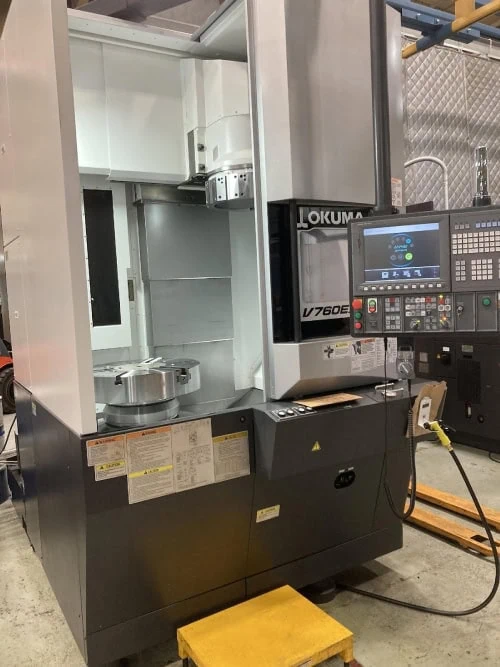
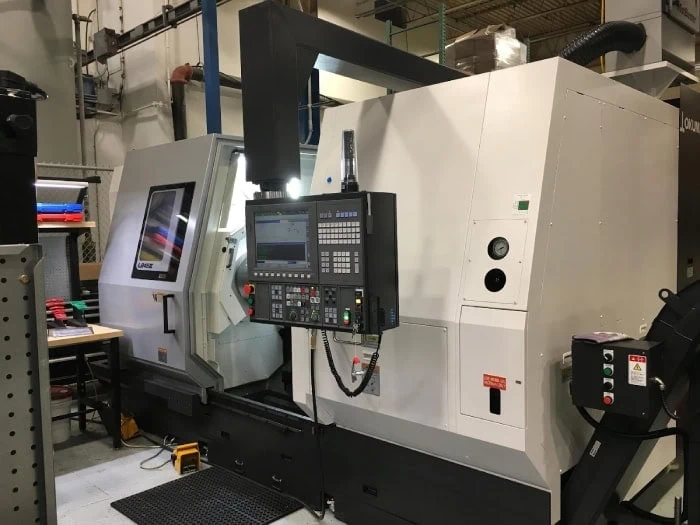
Our aerospace CNC machining is performed on our robust Okuma lathes, the same machines used by our customers to machine difficult aerospace alloys. The Okuma machines have a proven reputation and provide a high level of rigidity for machining aerospace alloys. The combination of excellent equipment and robust process control enables us to machine the most challenging materials and geometries, including very difficult materials with very low machinability ratings.
Our equipment includes:
- 2 Okuma LB45-III/1000 Horizontal Lathes – max turning diameter of 25.96 inches and max turning length of 39.33 inches.
- 1 Okuma V760ex Vertical Lathe – max turning diameter of 29.92 inches and max turning height of 30.31 inches.
Although having the right equipment is essential for machining difficult aerospace alloys, it is also critical to have personnel who are experienced and knowledgeable in machining these materials. Developing processes to efficiently cut high nickel content forgings requires the selection of the correct inserts, including shape and material type (ie. carbide or ceramic). We have created many production processes to effectively machine challenging aerospace materials and deliver the quality demanded by aerospace customers.
Benefits of CNC Machining for Aerospace Spin Testing
CNC machining processes are a necessity in the aerospace industry, where components must not only be extremely accurate and precise but also prepared for spin testing procedures. At Test Devices by SCHENCK, our aerospace CNC machining services, combined with our in-house spin testing services, help our clients obtain better quality parts more efficiently than ever before.
High Accuracy and Precision
CNC machining is the ideal manufacturing method when extreme accuracy and precision are required. In the aerospace industry, even a minor deviation from required dimensions can result in catastrophic consequences, affecting everything from aerodynamics to structural integrity and performance. CNC machining services from Test Devices by SCHENCK are accurate to a few micrometers. Upon completion, the parts are not only accurate but also in the ideal state for spin testing procedures.
Consistency and Efficiency
As a computer-controlled process, CNC machining minimizes the possibility of human error and maximizes manufacturing efficiency. Since the process is completely automated, production time is minimized without sacrificing consistency. The final parts are created with minimal waste and are ready for spin testing without needing to be reworked due to dimensional inaccuracies.
Inspection Capabilities
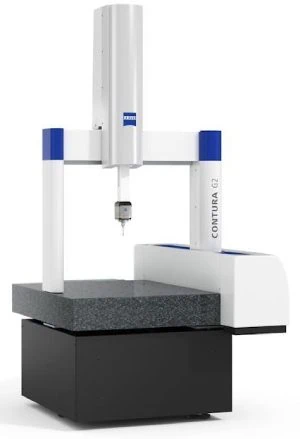
A critical step in machining any precise component is the ability to accurately and independently measure and certify the dimensions. At Test Devices by SCHENCK, all machined parts are dimensionally inspected with top-of-the-line Zeiss Contura scanning coordinate measuring machines (CMMs). Our Zeiss CMMs are highly accurate, efficient machines that eliminate the guesswork in determining compliance with geometric tolerances.
Our equipment includes:
- 1x Zeiss
- 1x Zeiss
Your One-Stop-Shop for Pre-Spin CNC Machining Services & Rotational Parts Testing
Test Devices by SCHENCK has been a trusted name in the aerospace industry for over 50 years. From our large, state-of-the-art facility in Hudson, Massachusetts, we deliver CNC machining and realistic rotational testing services that meet the needs of customers around the world. We have held AS9100 and ISO9001 certifications since 2006 to ensure our customers receive the best possible quality, every time.
To learn more about our unparalleled CNC machining and spin testing capabilities for the aerospace industry, reach out to our team or request a quote today.


